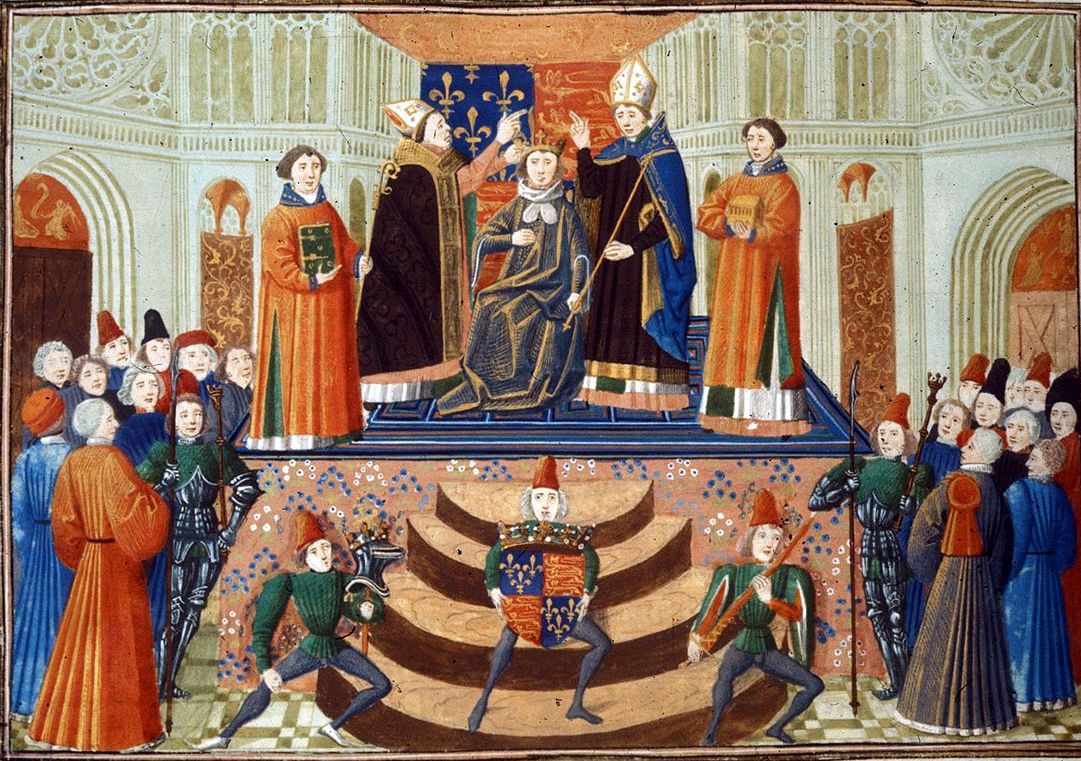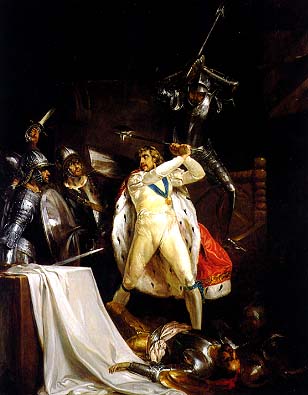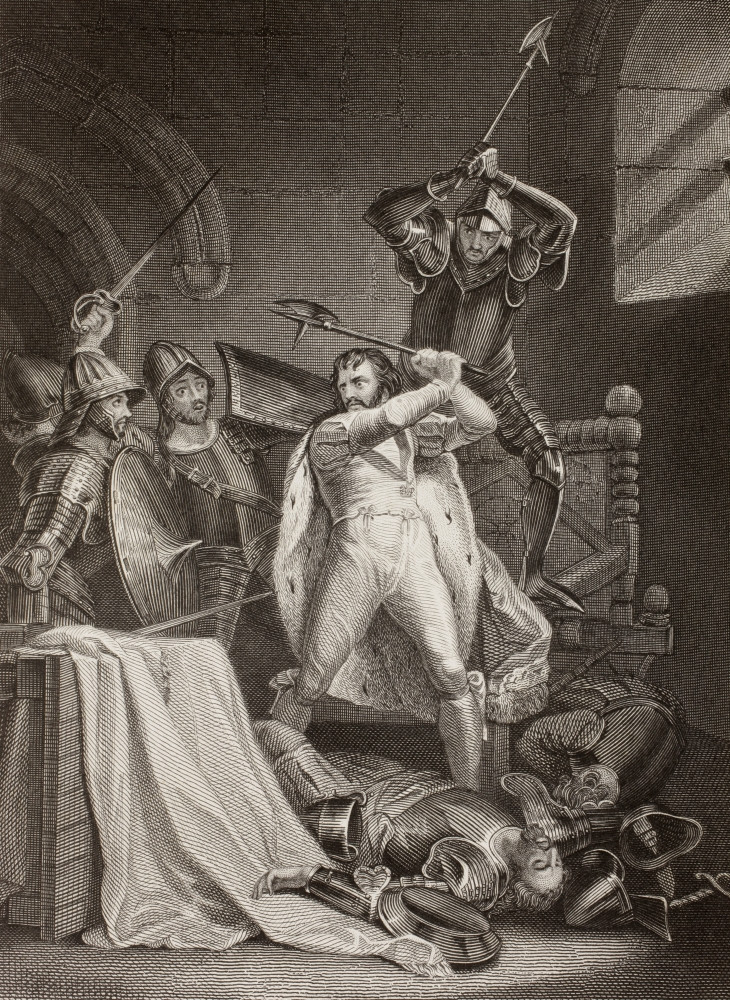
Before I started researching the reign of Henry IV, I had absolutely no idea that the death of Richard II was ever in question. After all, Shakespeare had Richard II killed in prison by sword-wielding assassins—and he put up a fight before he went down. But of course, that was good theatre. I later learned that Richard II was starved to death, either voluntarily or by orders of the king. After all, there was a very public funeral and not much of a fuss was made over it.
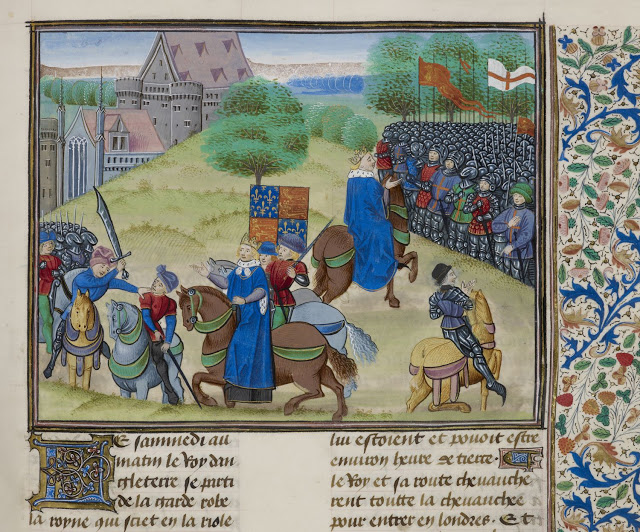
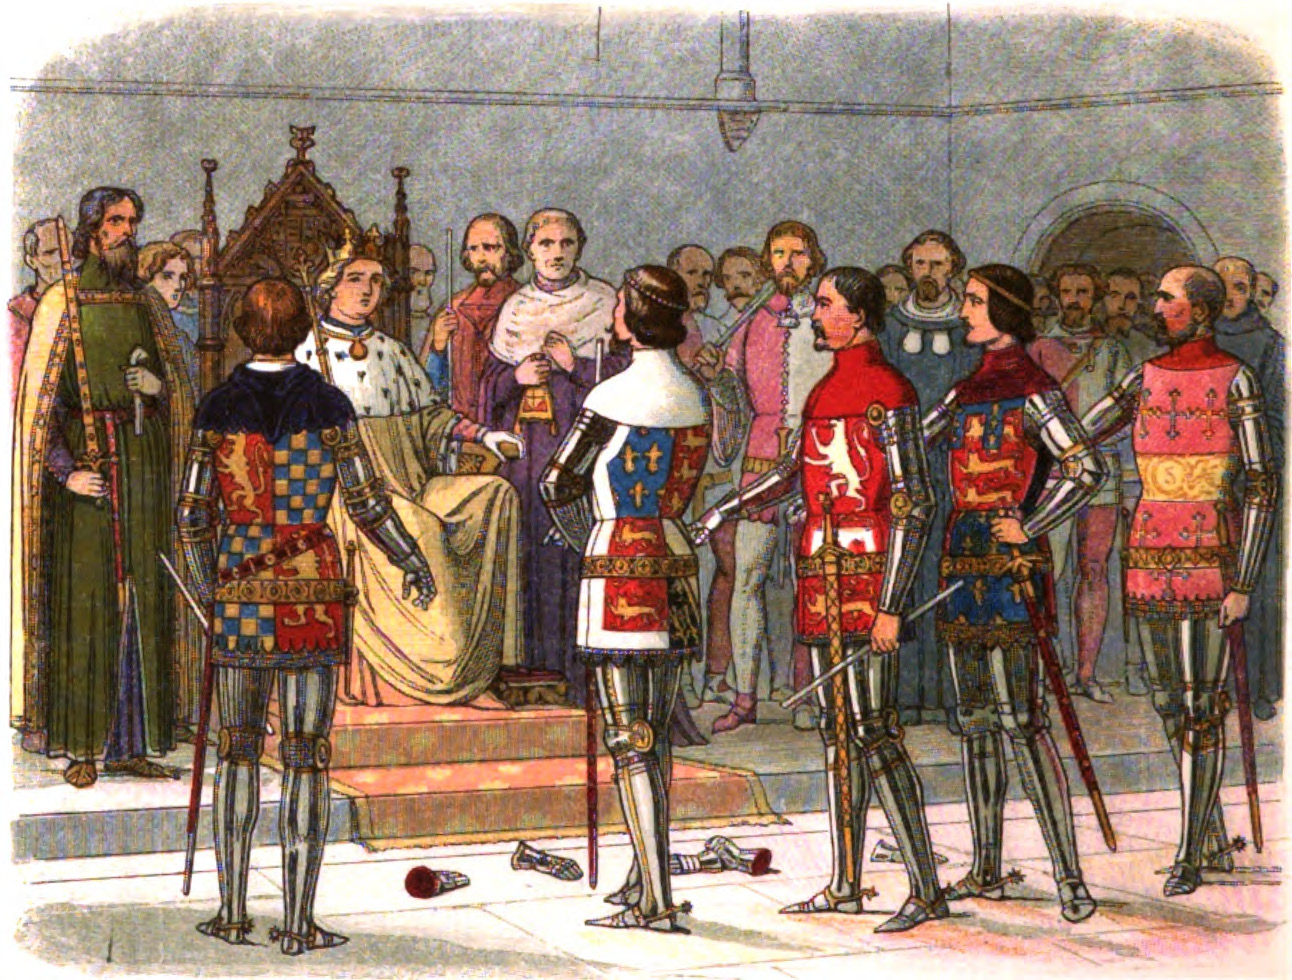
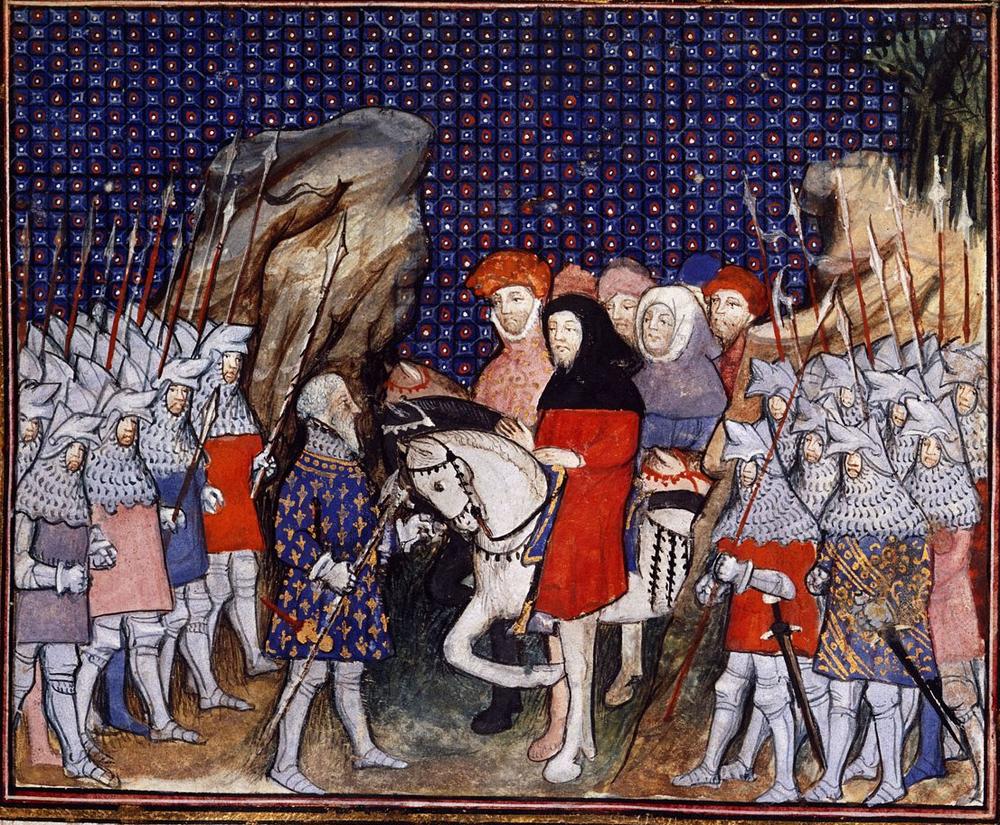
So imagine my surprise to learn that things weren’t quite so black-and-white. The background story tells us that Henry IV strongly refused to kill the king he had just usurped, regardless of the fact that he was beset on all sides by well-wishers. They all urged him to put Richard II to death. After all, it was understood that disgruntled nobles and troublemakers could easily stir up rebellions in favor of an ex-king. Instead, Henry sent Richard away to be imprisoned in a secret location known only to a handful of people. Pontefract Castle was a Lancaster stronghold way in the north, out of sight, out of mind.
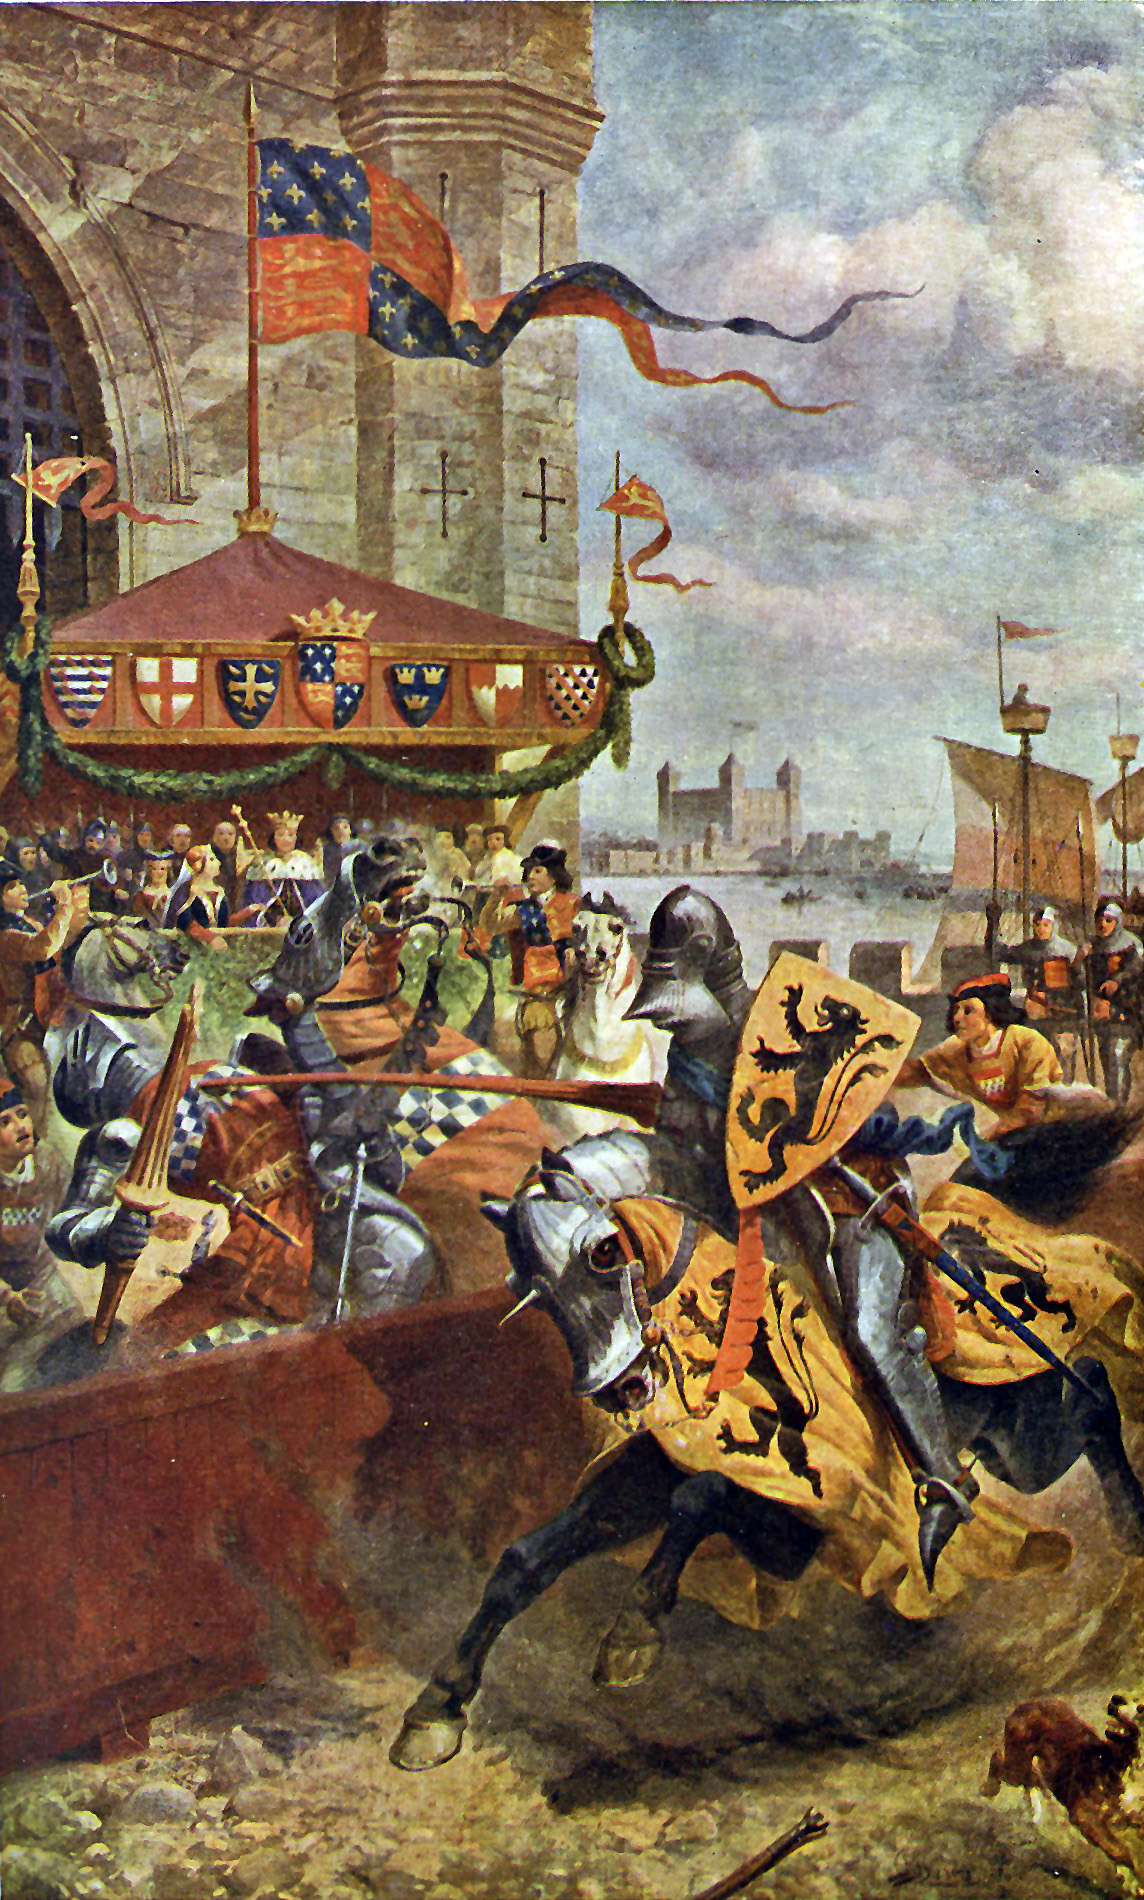
Nonetheless, it didn’t take long for the predicted rebellion to happen. Just three months after Henry’s coronation, the first revolt nearly cost him his life. Richard’s favorites—generously pardoned by Henry IV—planned to kill the king and his family during the tournament scheduled for the Epiphany (Jan. 6) at Windsor Castle. They would use Richard’s look-alike cleric as a figurehead until the real Richard could be released. Only a last-minute betrayal derailed their plans.
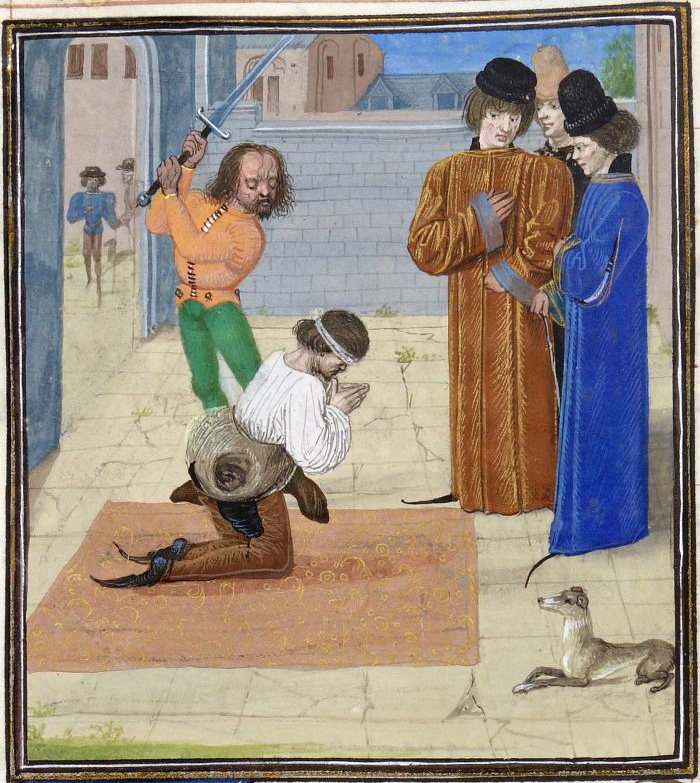
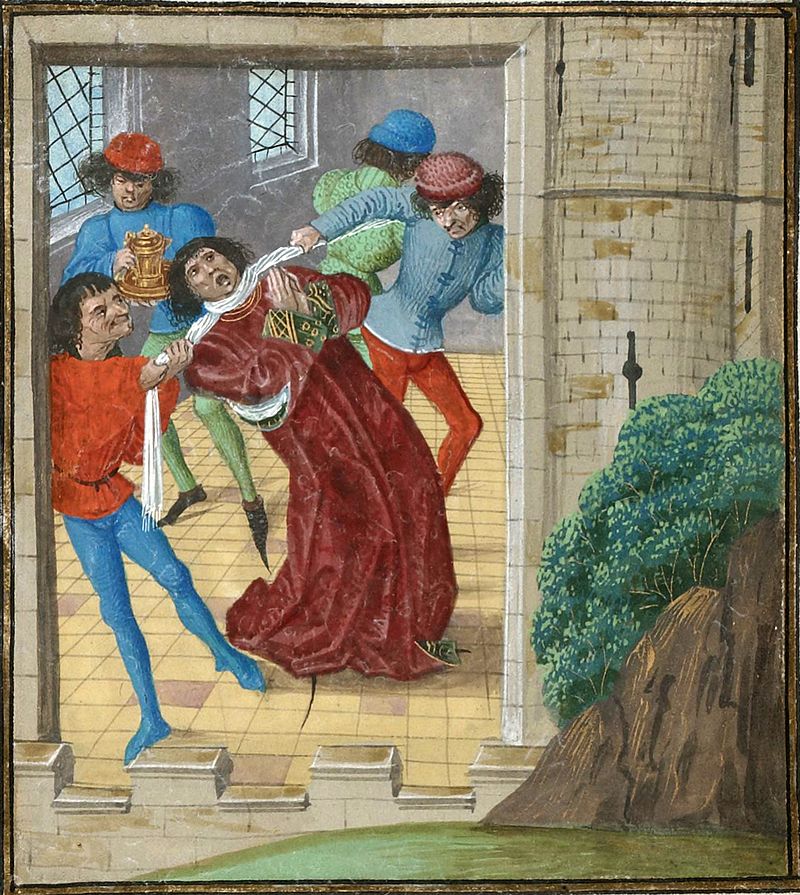
Alas for Richard, this revolt sealed his fate. Or did it? Rumors abounded. Finally, the first week of February, the great council attempted to resolve the question once and for all (or were they making an oblique suggestion?). They said, “that if he was still alive—as it is supposed that he is—he should be secretly guarded, but that if he were dead this should be demonstrated to the people”. Since Richard was already secretly guarded, it seems a little strange to me. All of a sudden, by February 17, it was announced that he was dead and on his way back to London. Just for the record, Richard’s death was recorded on February 14, though this seems to be a convenient date lacking any confirmation. Why? No one even knew how he died. If there were any witnesses, their lips were sealed.
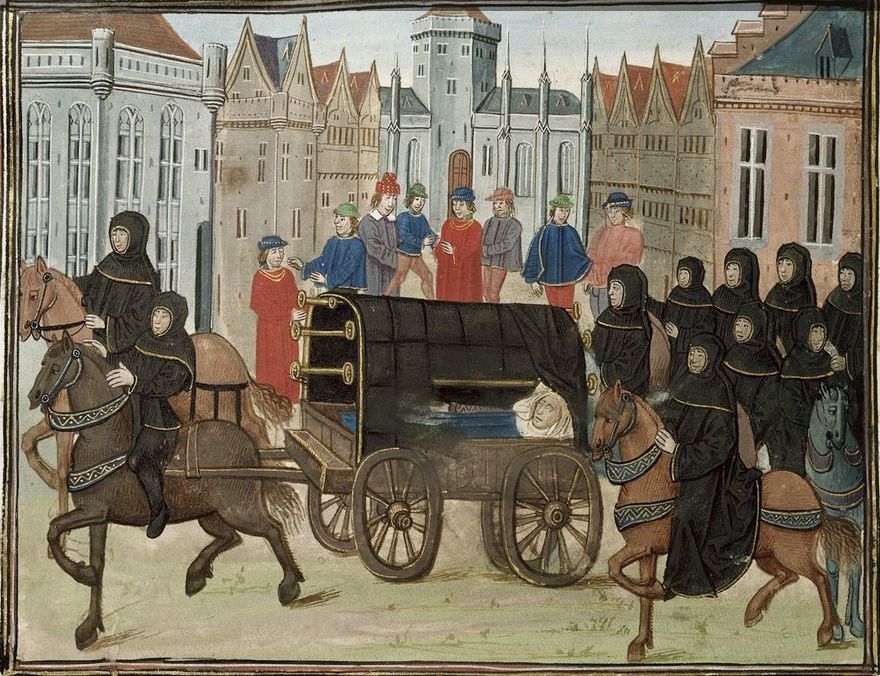
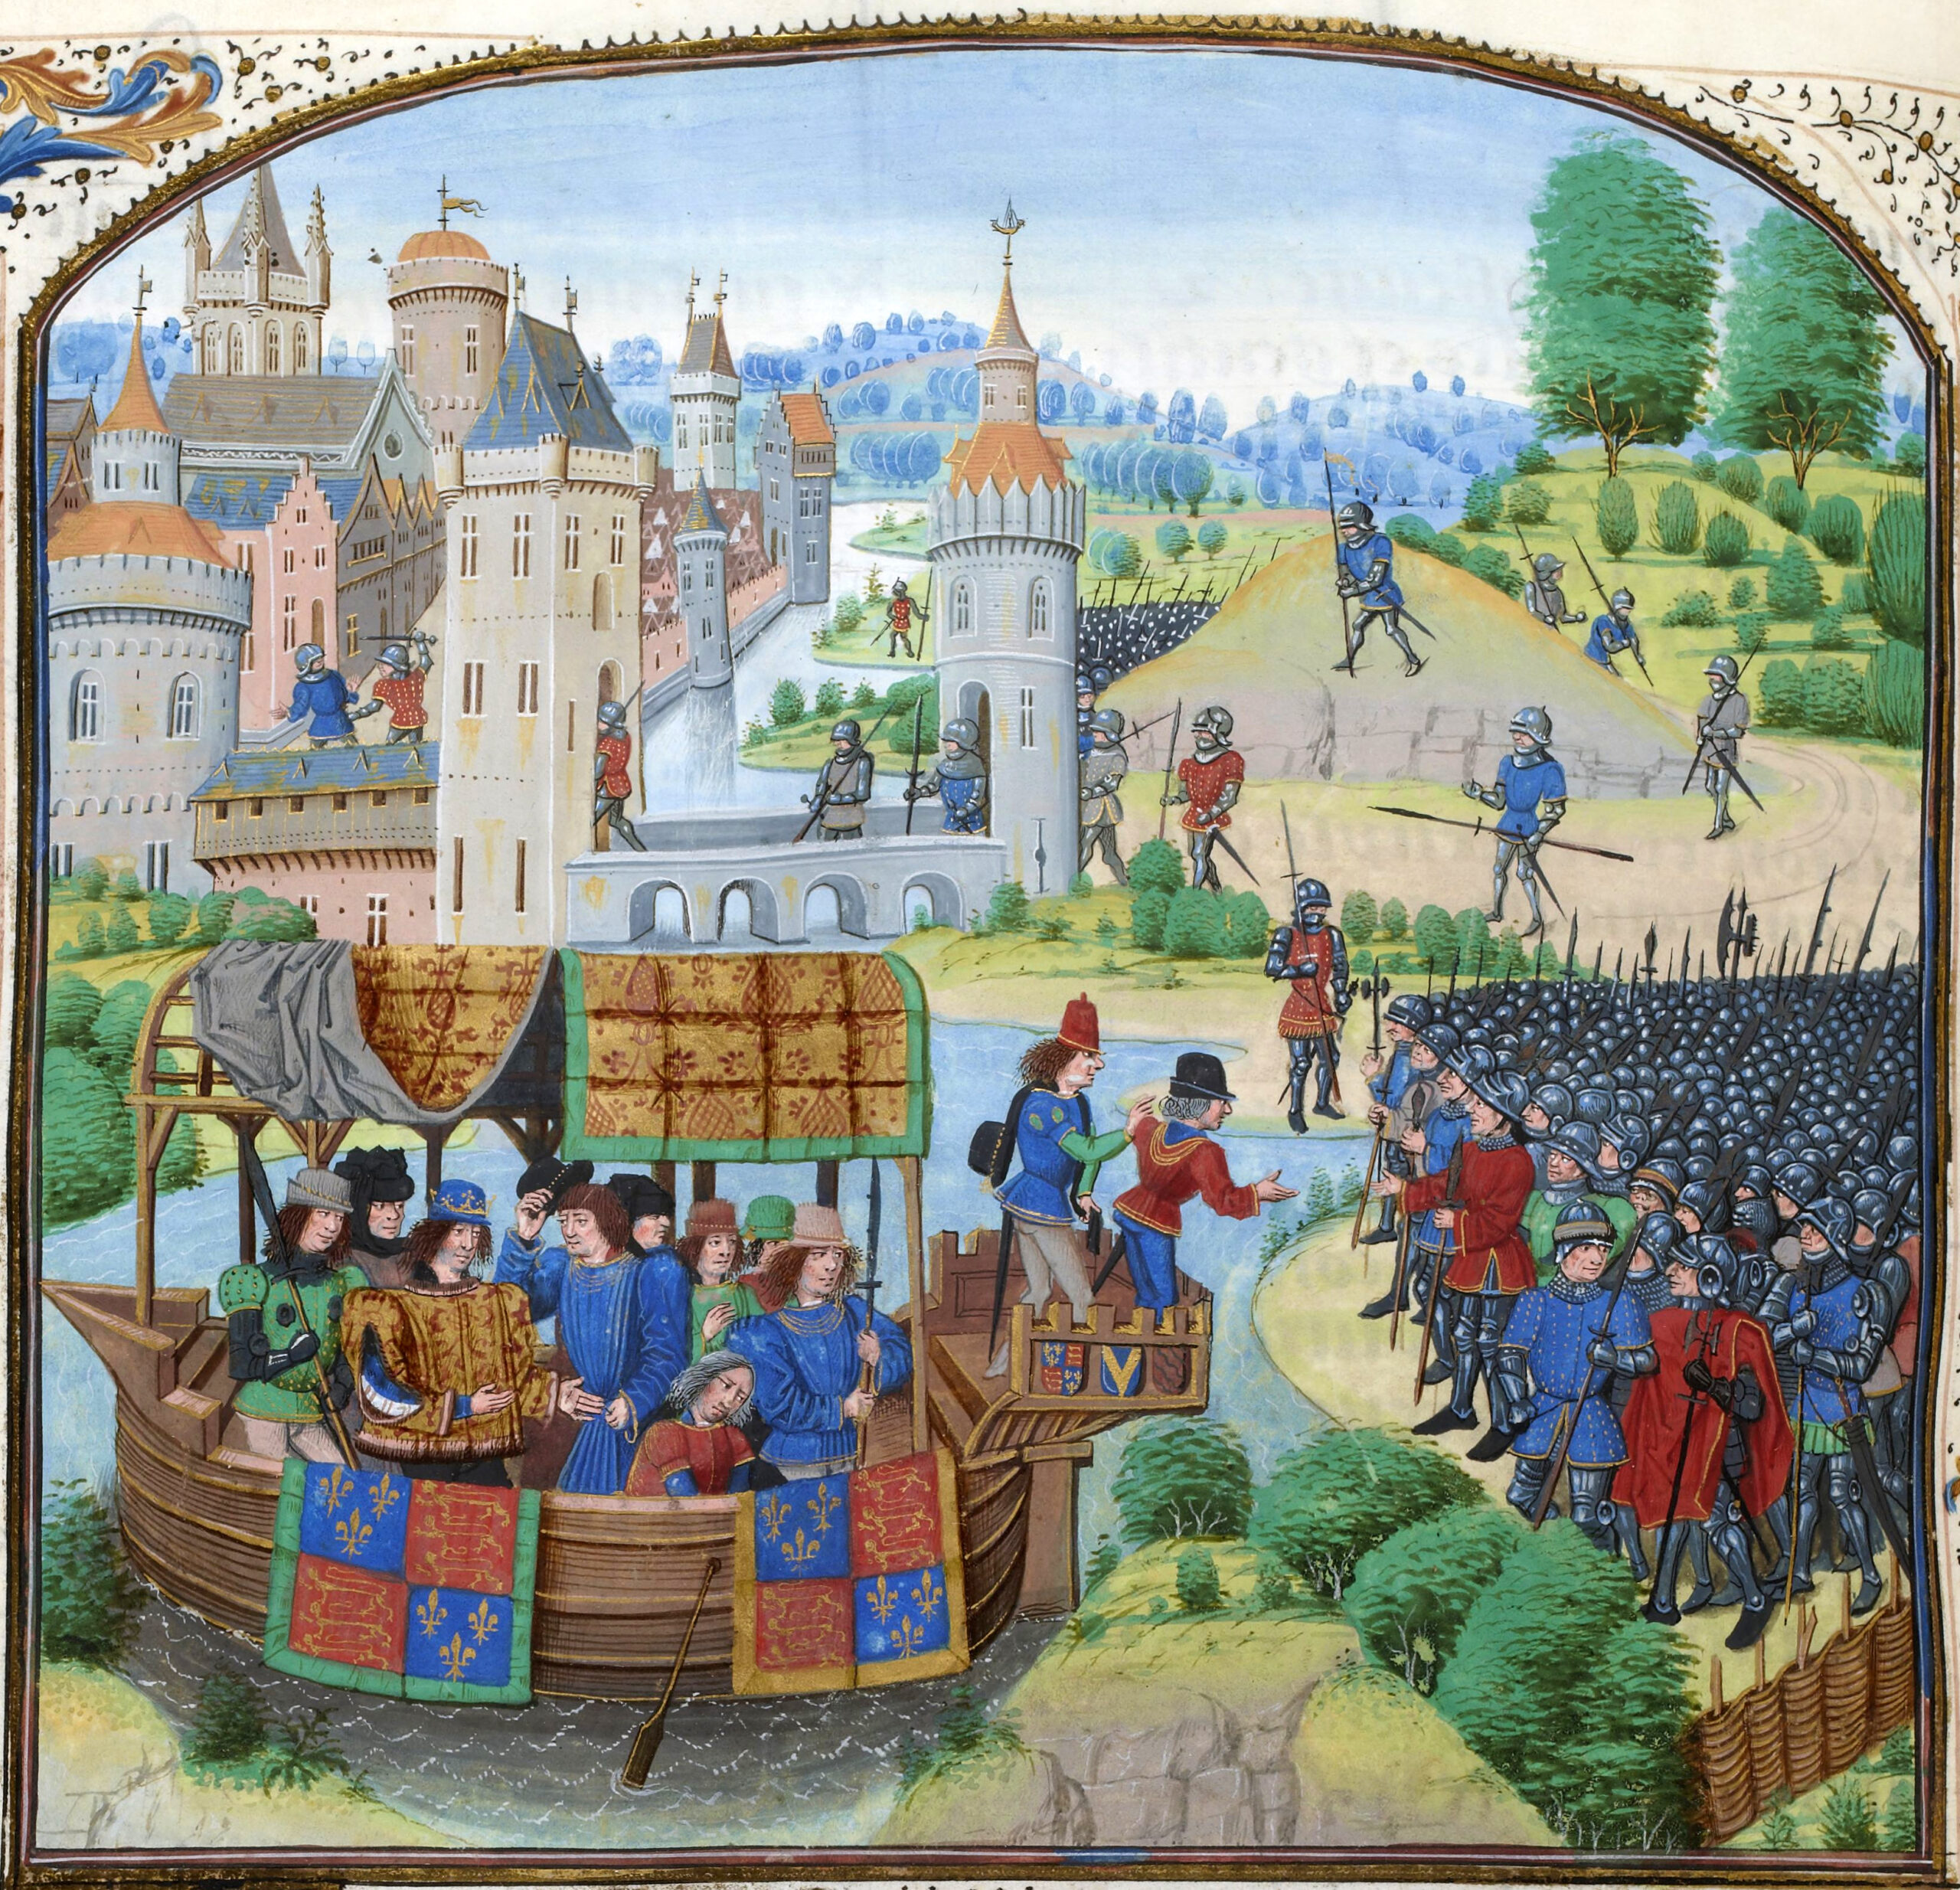
In order to convince the people that Richard was truly dead, King Henry staged an elaborate procession. The body—encased in lead except for his face from the eyebrows to the throat—was set on a bier and drawn on a carriage from Pontefract to London, exposed for all the populace to see. The corpse was taken to the royal manor of Chiltern Langley and handed over the Black Friars, who privately buried him in the church. The only witnesses were the Bishop of Lichfield and the Abbots of Waltham and St. Albans.
So far so good. However, I was stunned to discover the alternative rumor that Richard had escaped from Pontefract and taken refuge in Scotland. I first learned about this when reading the preface of CHRONICQUE DE LA TRAISON ET MORT (Chronicle of the Betrayal and Death of Richard II, King of England); it’s also in the text (yes, it’s translated). The author gives us a very convincing argument about Richard’s survival, supported by the Appendix of Tytler’s HISTORY OF SCOTLAND (Vol. 3), entitled “Historical Remarks on the Death of Richard II”. Tytler started out by being skeptical on the subject but soon changed his mind: “In investigating this obscure part of our history, it was lately my fortune to discover some very interesting evidence, which induced me to believe that there was much more truth in these reports than I was as first disposed to admit. This led to an examination of the whole proofs relative to Richard’s disappearance and alleged death in England, and the result was, a strong conviction that the king actually did make his escape from Pontefract castle… I am well aware that this is a startling proposition, too broadly in the face of long-established opinion to be admitted upon any evidence inferior almost to demonstration.”
I must admit, I found Tytler’s evidence most convincing, even though he didn’t go beyond admitting this was a hypothesis. What pushed me over the edge was Henry’s remark to the Earl of Warwick just before they went after the rebels of the Epiphany rising: “But by St. George, I promise you, if I encounter him with them now, either he or I shall die.” It’s difficult to interpret this any other way than his knowledge of Richard’s escape. The more I wrote about it, the more convinced I was that Richard’s escape was truly feasible.
Taking a broad look at King Henry’s reign and the difficulties he experienced trying to legitimize his usurpation, in the end it almost doesn’t matter whether Richard survived or not (well, it mattered to Richard). Reports concerning his escape to Scotland and potential return harassed Henry throughout his reign. Those rumors took on a life of their own, resurfacing every time someone wanted to cause trouble. I think Paul Strohm said it best in his Reburying Richard: Ceremony and Symbolic Relegitimation: “In the years after 1402, the certainty that Richard was alive and well in Scotland seemed less tenacious than the desire that it be so.” It gave the disgruntled country a focus, a sense that Richard represented better days.
Letters from Scotland bearing the king’s seal didn’t help matters; the culprit, William Serle, was later to pay dearly for his efforts. The most serious threat came from Hotspur, when he used Richard as a means to gather an army from Cheshire. Even though at the last minute he admitted Richard wasn’t coming, the damage was done. After Shrewsbury, cries for Richard’s return substantially diminished, and they evolved into an oath to fight for Richard if he was alive, or for Mortimer if the king was dead. The last time this tired-out declaration was used was during the Southampton Plot in 1415 on the eve of Henry V’s expedition to France.
There is no doubt that someone was being taken care of in Scotland, first by King Robert III and afterward, his brother the Duke of Albany. This mysterious person, often called the Mammet (or puppet), was supported at great expense all the way up until his death in 1419, where he was buried at Blackfriars in Stirling. Whether this person was in his right mind or not remains part of the mystery. But it’s certainly possible that if he was Richard Plantagenet, he may have fallen into such a state of depression that politically, he was dead anyway. I would imagine he might have felt some satisfaction in knowing that his ghost would certainly haunt Henry until the end.